How to use Blender
What is Blender?
Blender is software for creating 3D graphics. It allows you to create, edit, animate, and render 3D models all in one software, and is used in a variety of fields, including film, games, architecture, and product design.
The biggest feature is,Anyone can use it for freeIt is open source software. It is continuously being improved by developers around the world, and while it has the same functionality as expensive professional software, it can be easily used by individuals.
In this article, we will explain how to import a city model output by PLATEAU into Blender, extract specific buildings, and export them as data for paper crafting.
Installing Blender
Download Blender
- Official websiteOpen
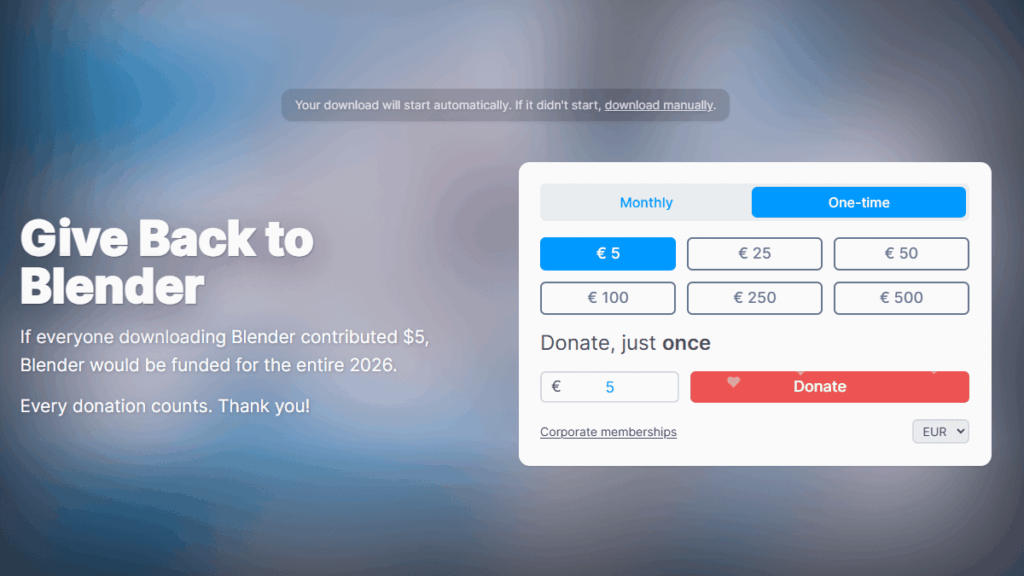
- In the center of the screen, clickDownload BlenderClick the " button
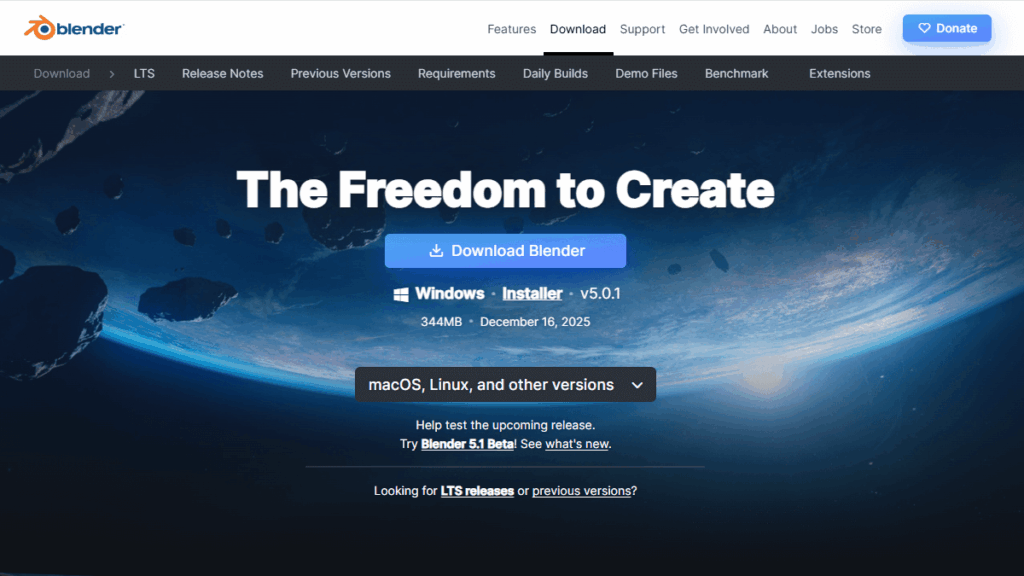
Blender is free to use.This screen that appears after downloading is a "donation information page" to support Blender development. It does not charge a fee, so you can just close the page.
Installing Blender
- Double-click the downloaded file (blender-*.*.*-windows-x64.msi) to run it.
- Follow the on-screen instructions to proceed with the installation
- Once the installation is complete, launch Blender (double-click it).
Starting Blender
First-time startup settings
When you first start Blender, you'll be presented with a "Quick Setup" screen where you can select your language and operating settings.

For "Language," choose the language that you understand best. For example, if you are working in a Japanese environment, choose "Japanese." It's best to choose a language that suits your purpose and work style.
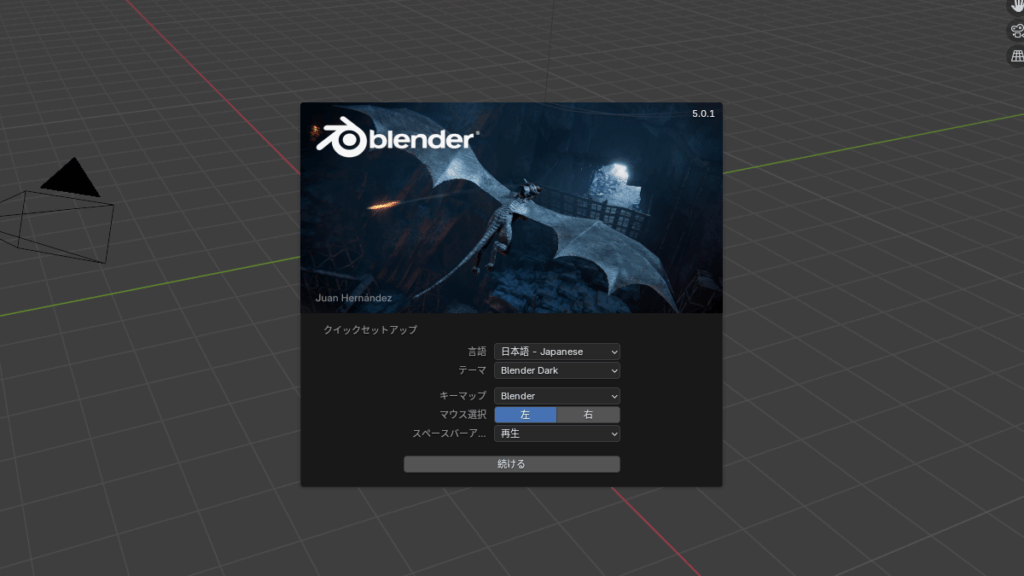
Other settings can be left as they are by default. After checking the settings, click "Continue".
How to close the Start menu
This screen, which appears after language setting, is Blender's start menu. It is a guide screen for creating new files and opening recently used files, so no special operation is required.
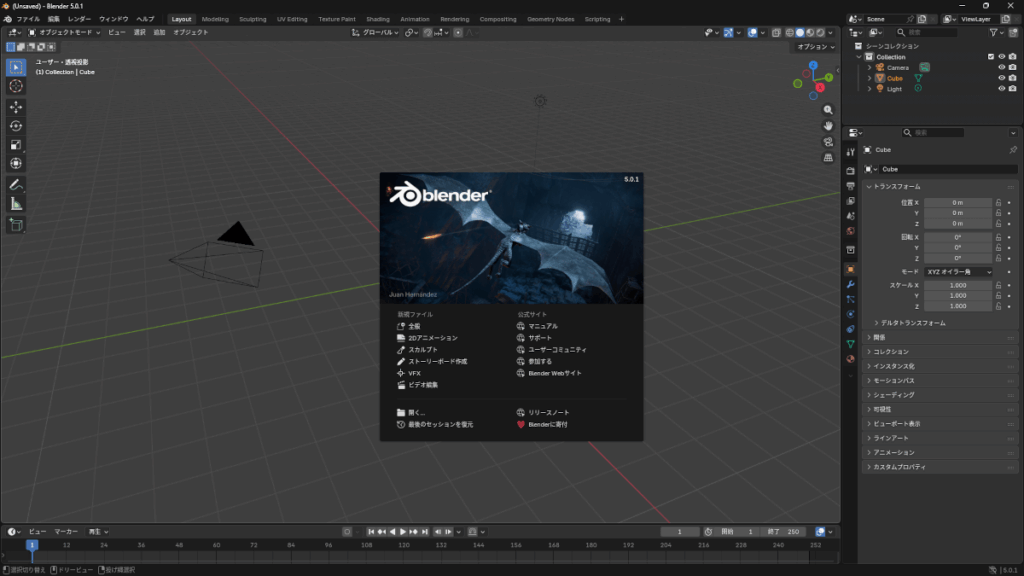
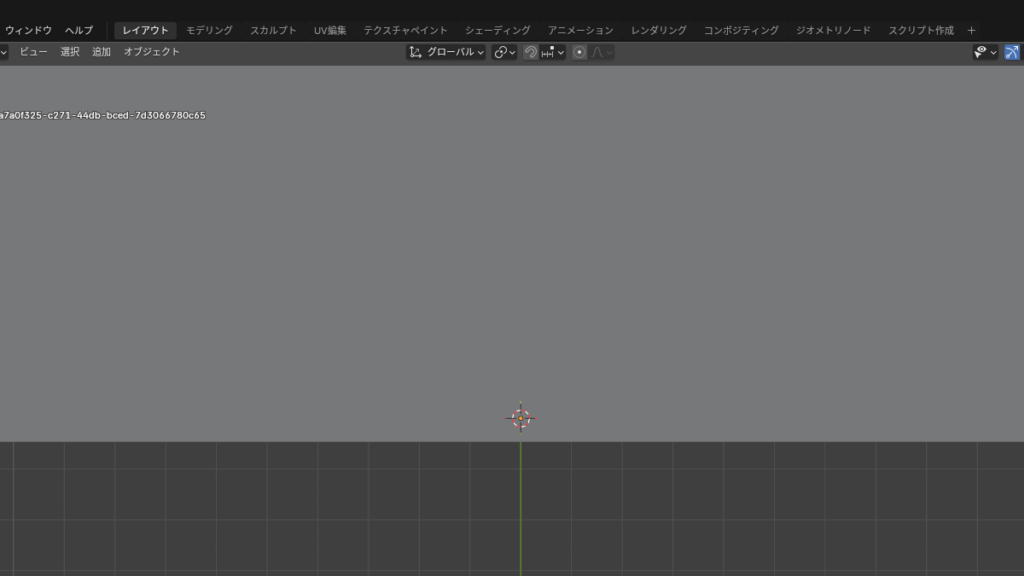
To continue working, click on the grid area outside the screen to close this window. Once the central menu disappears and only the 3D view (grid screen) is displayed, you're ready to go.
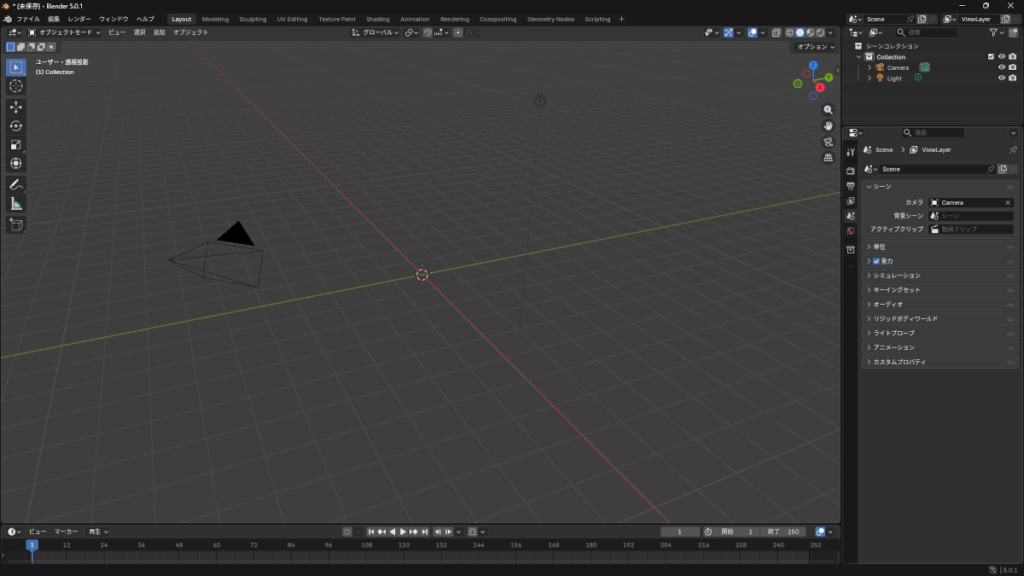
Delete the Cube
Before we begin, let's delete the cube that appears initially.
- Left click on the cube in the center of the screen to select it (it will turn orange)
- Press the Delete key on your keyboard
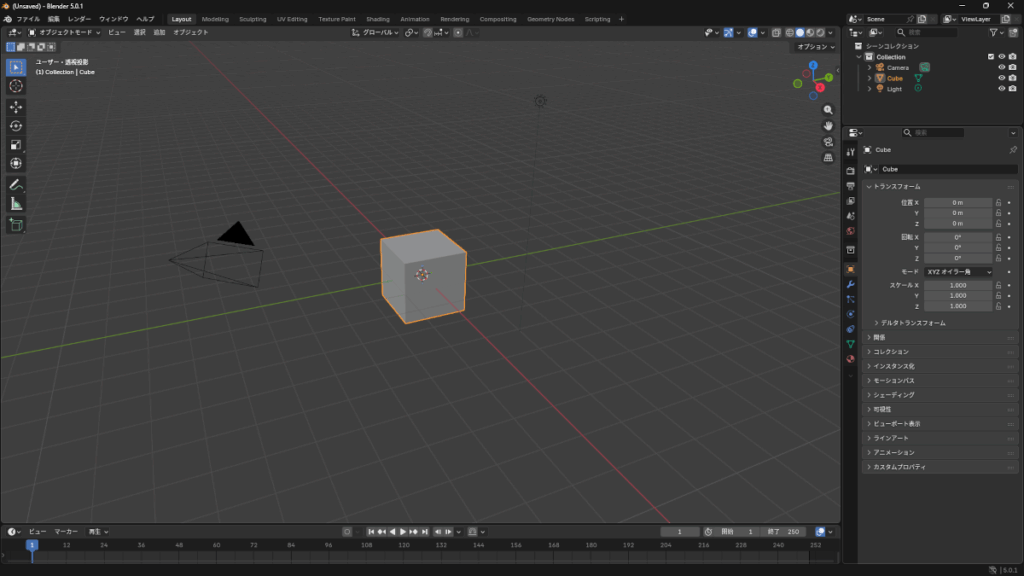
When the cube disappears and you are left with an empty workspace, you're done.
Importing 3D city models
Export as FBX instead of OBJ
If you export a 3D city model in OBJ format from PLATEAU, the entire city will be treated as a single object, which can make it difficult to edit each building individually. For this reason, in this article we will use a method to export data from PLATEAU in FBX format and import it into Blender.
FBX Import
Click "File" in the top menu and select "Import" → "FBX (.fbx)".
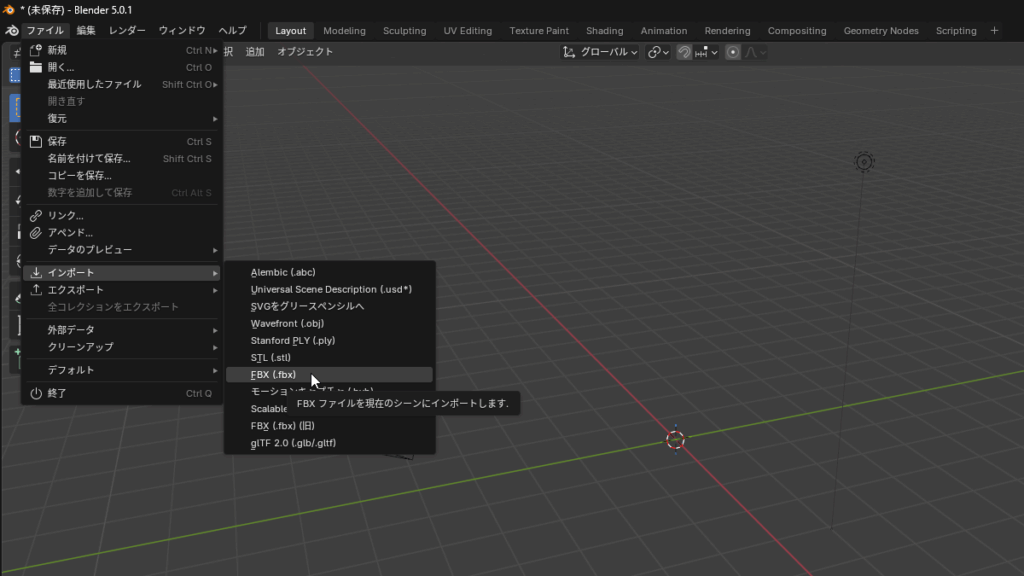
When the file selection screen opens, select the FBX file exported with PLATEAU and click "Import FBX" in the upper right corner.
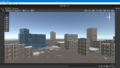
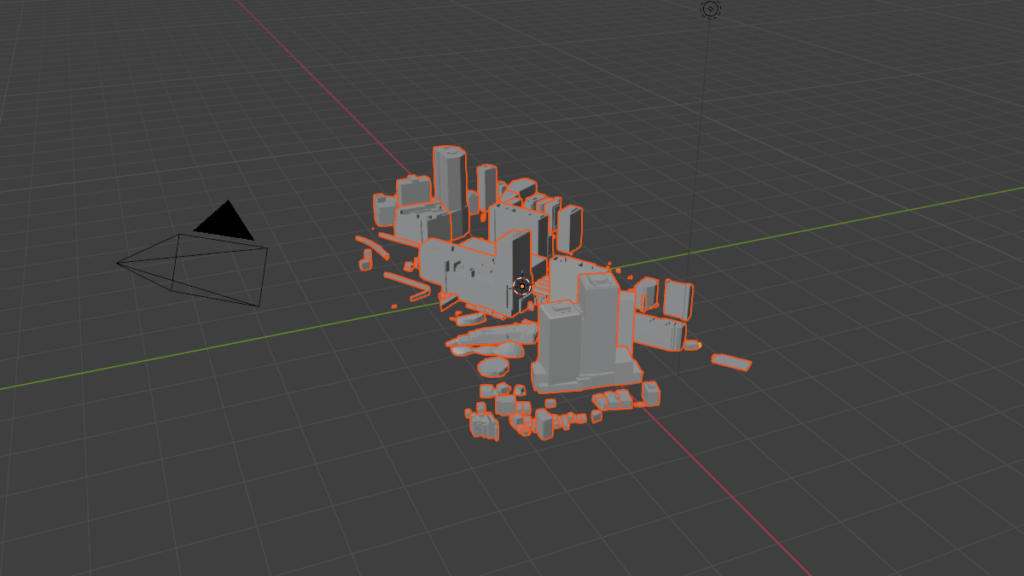
Once the import is complete, the city data will be displayed in the 3D view. This completes the import of the FBX file exported by PLATEAU.
Select the desired building
Select the desired building
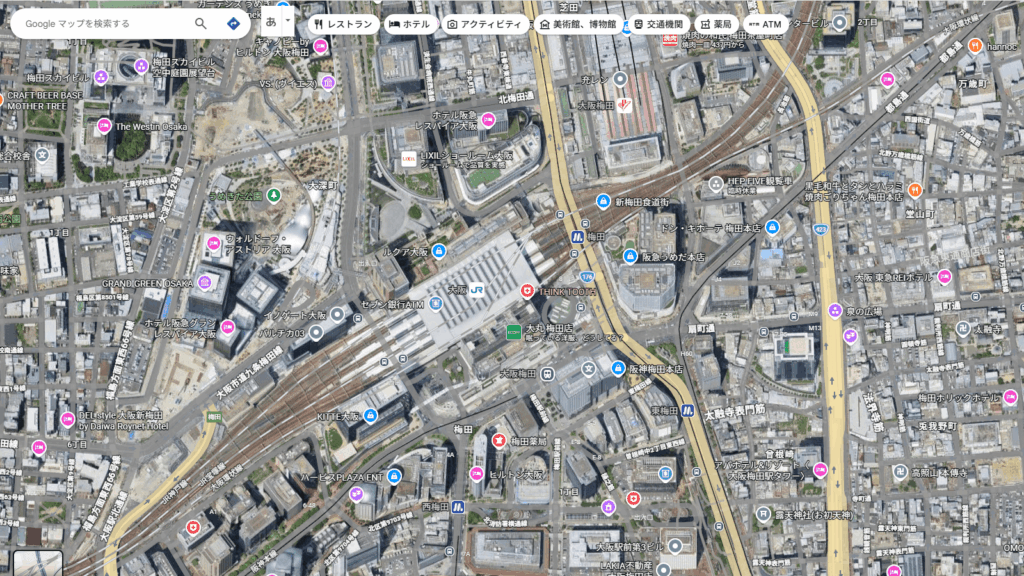
First, to make it easier to find the building you're looking for, change the viewpoint to a "top-down view" like Google Maps.
To view from above, click "Z" in the "Navigation Gizmo" at the top right of the screen.
The screen will switch to a top-down view.
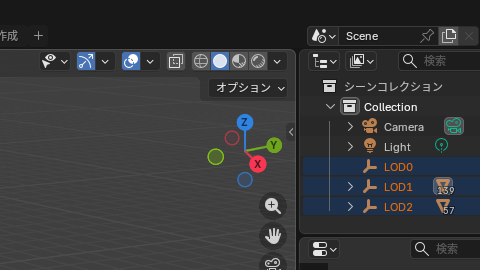
Next, in the "Scene Collection" at the top right of the screen, click the eye icons for "LOD0" and "LOD1" to hide them.

Make sure only "LOD2" is displayed.
This time, we will use "LOD2", which contains more detailed shapes, and select only the buildings to be used in the paper craft.
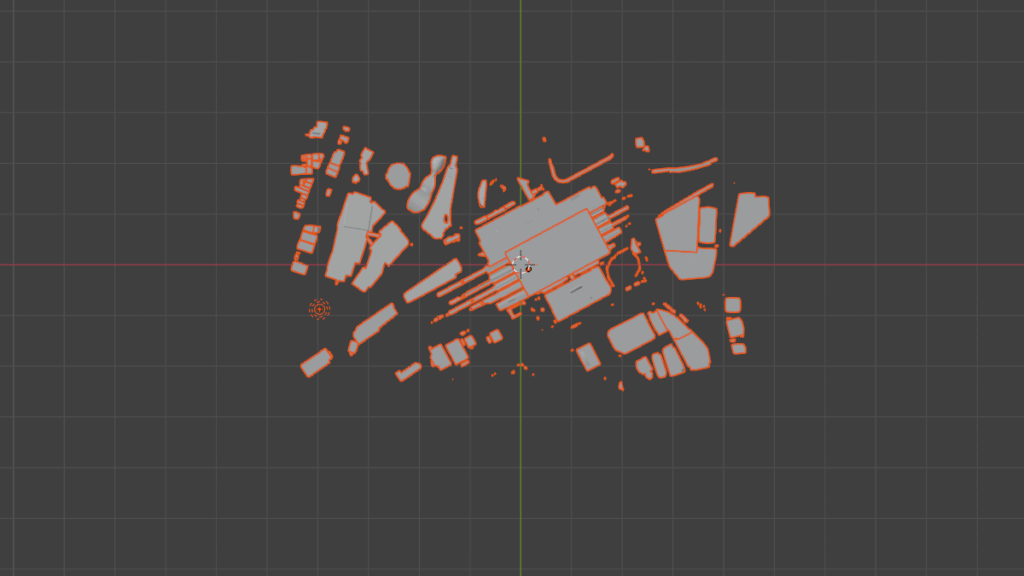
Next, press the "R" key on your keyboard to enter rotation mode, and use the mouse wheel to adjust the orientation of the model.
Just like Google Maps, orienting the screen so that the top is facing north will make it easier to find the building you're looking for.
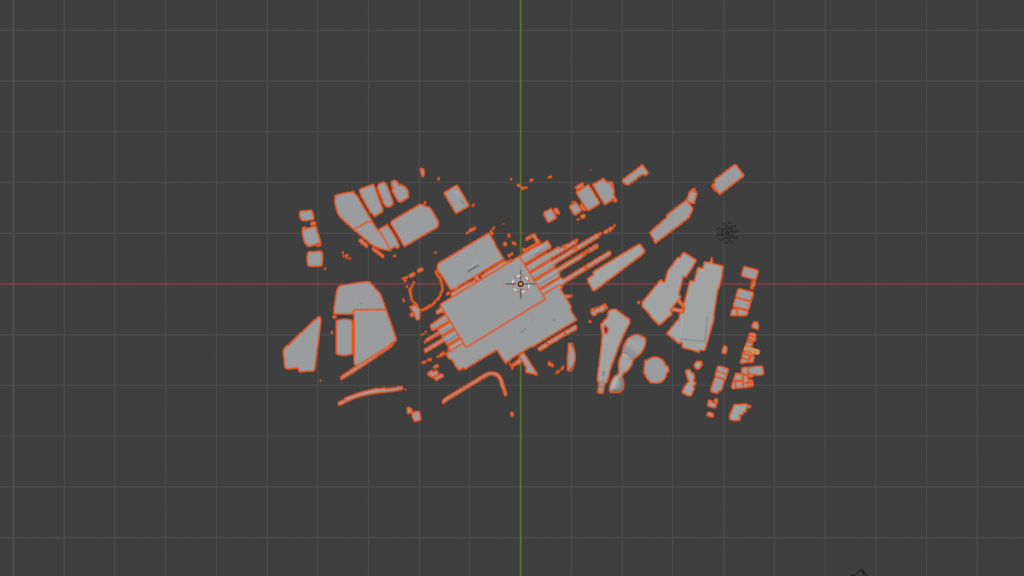
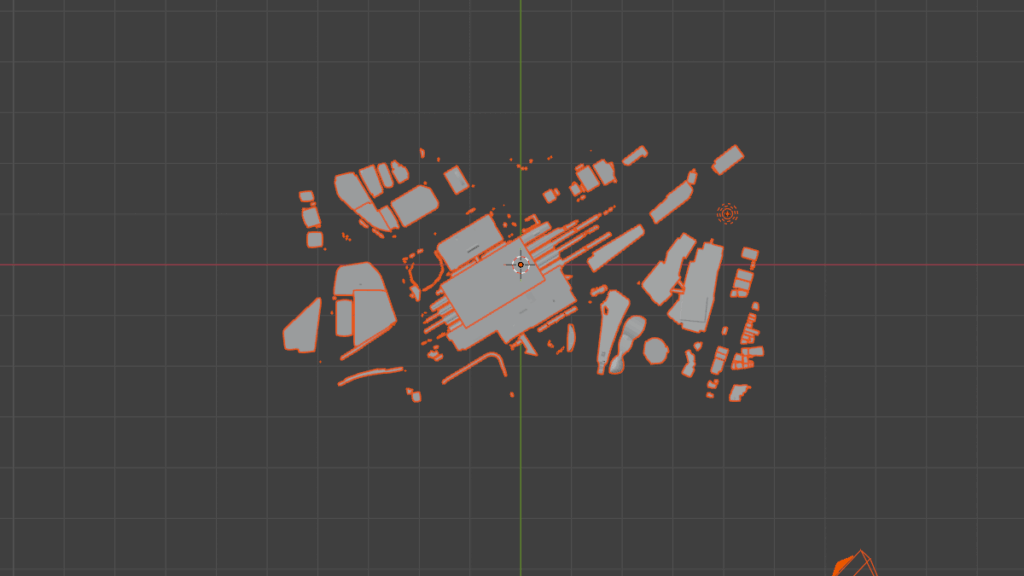
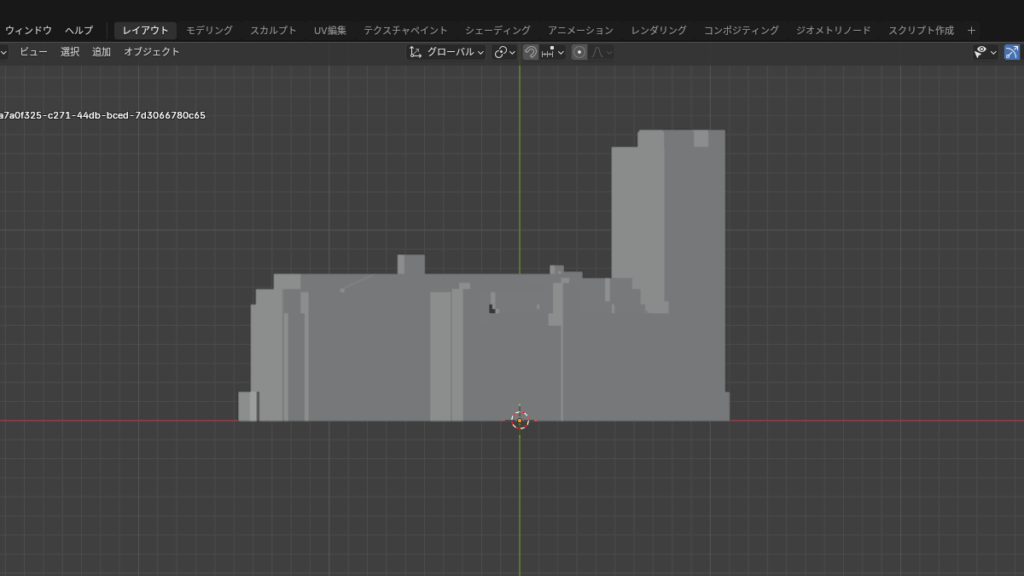
Here, we will select "Lucua Osaka" as an example.

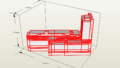
Once the desired building is displayed in orange and selected, you're ready to go.
Remove unnecessary buildings
First, press Ctrl + I to invert the selection.

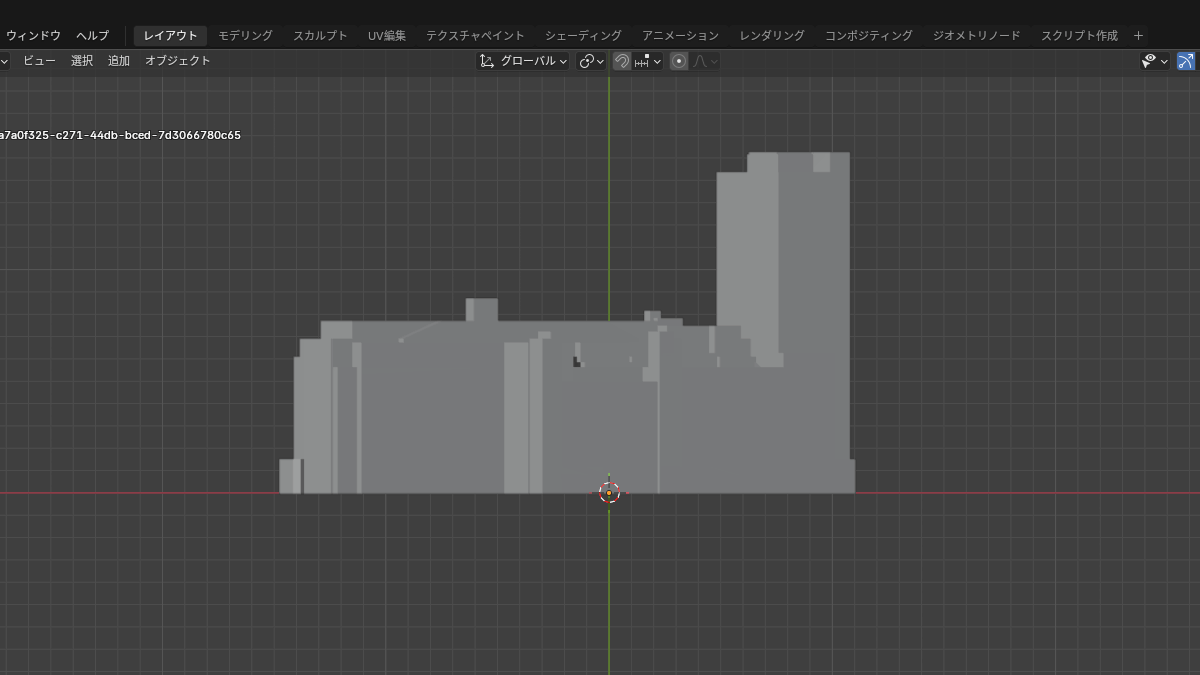
Next, press the "Delete" key. This will delete all buildings except the one you selected, leaving only the desired building. At this time, the screen may zoom in on the building.
In that case, use the mouse wheel to zoom out.
Save the state of your work
Once you have selected the desired building, it is a good idea to save this state. If you are saving the state of your work in Blender, save it in Blender format (.blend) instead of FBX.
Click "File" in the top menu and select "Save As."
FBX and OBJ are formats for transferring data to other software and are not suitable for saving the state of a work in progress.
Export OBJ
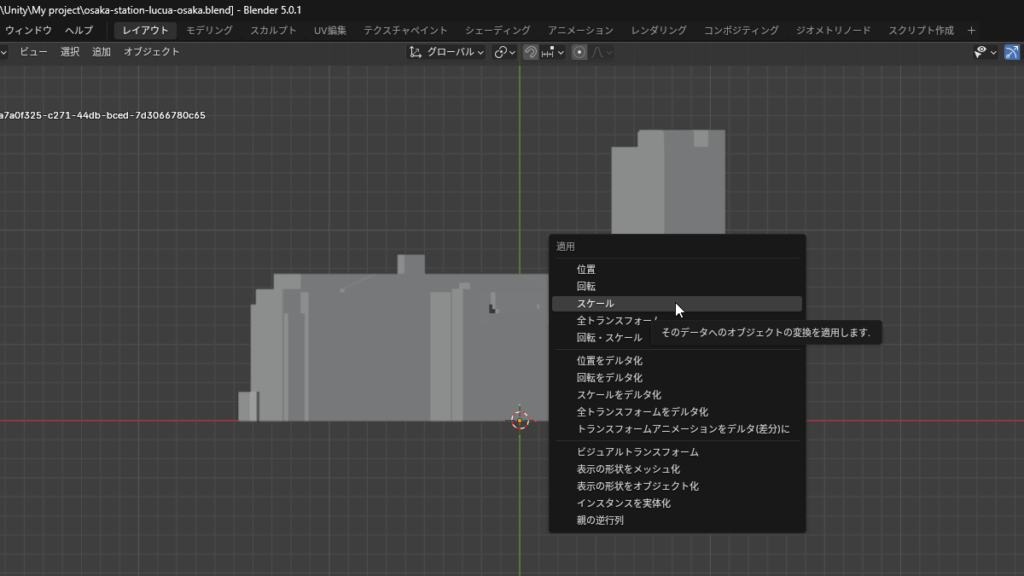
Determine the size of the building
Next, determine the size of the building. Press Ctrl + A on your keyboard. A menu will appear, so click "Scale."
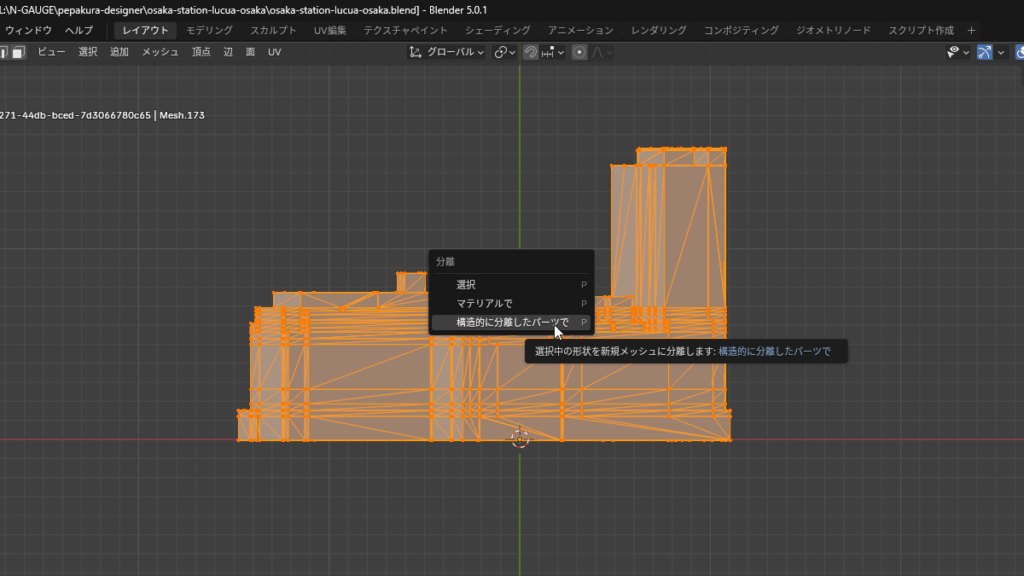
Separate objects
Next, we separate the objects into their respective parts that make up the building.
- Press the "Tab" key on your keyboard.
- Press the "A" key on your keyboard.
- Press the "P" key on your keyboard.
- Select "Structurally separated parts".
This separates elements like walls, towers, roofs, and steps into multiple objects.
Exporting files
Click "File" in the top menu and select "Export" → "Wavefront (.obj)".
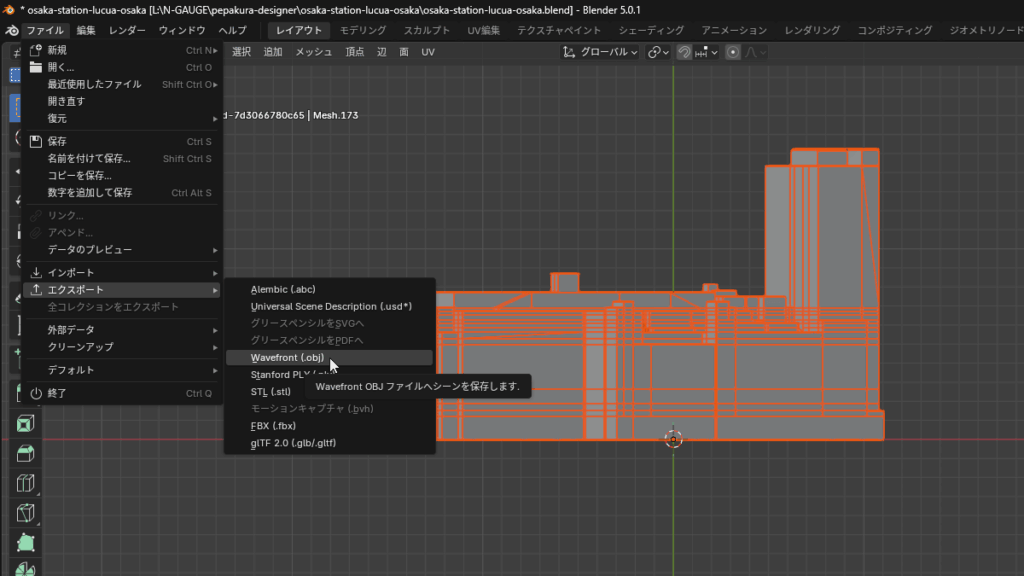
The OBJ export screen will appear.Wavefront OBJ Editor”
This concludes our explanation of "How to use Blender."
In the next step, you can export the OBJ file asPepakura Designer" and proceed to create the paper craft.How to use Pepakura Designer" article will provide more details.